Project Recyclobot
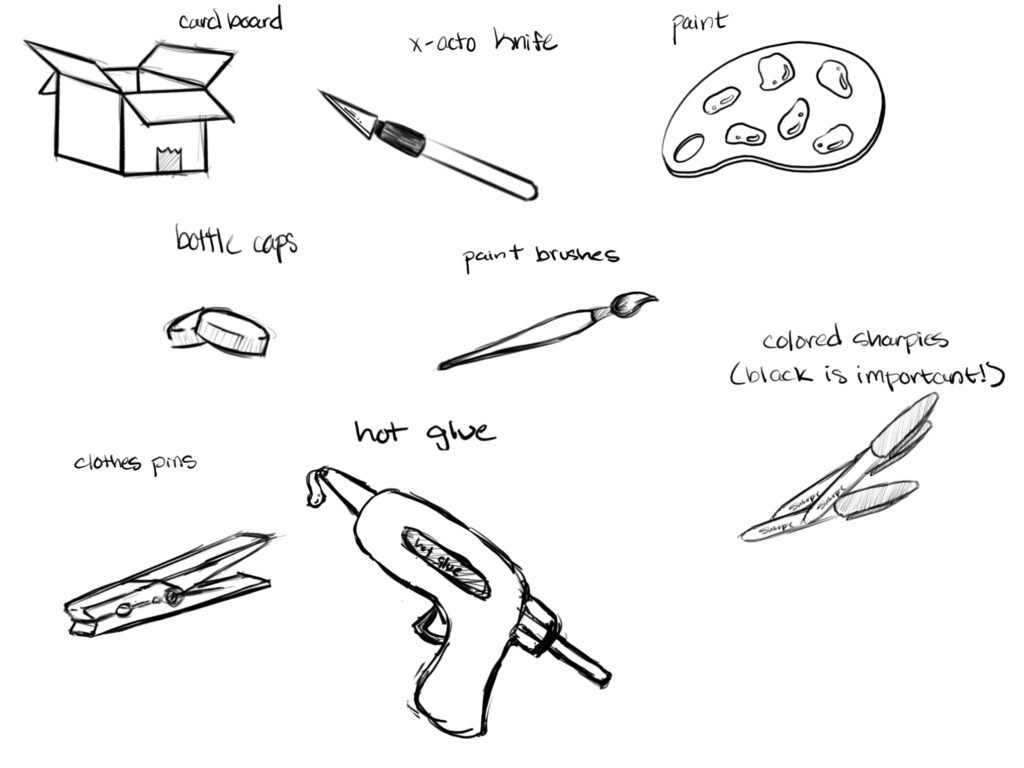
Project Recyclobot is a hands-on kids’ activity that promotes creativity, basic engineering skills, and environmental awareness by inviting children to build their own robot from household recyclables. Cardboard, bottle caps, tubes, buttons, and other everyday scraps become features and moving parts as kids imagine how their bot might look or function. The project encourages problem-solving while teaching the value of reusing materials, resulting in a unique robot creation that reflects each child’s imagination and care for the planet. I go through the process of brainstorming, sketching, and designing this project to create a fun, educational and creative project for littles. Let’s see how I did it!
Journey Map
What is a journey map? It basically shows you the thought process and development of the project. How does it start?
Brainstorming
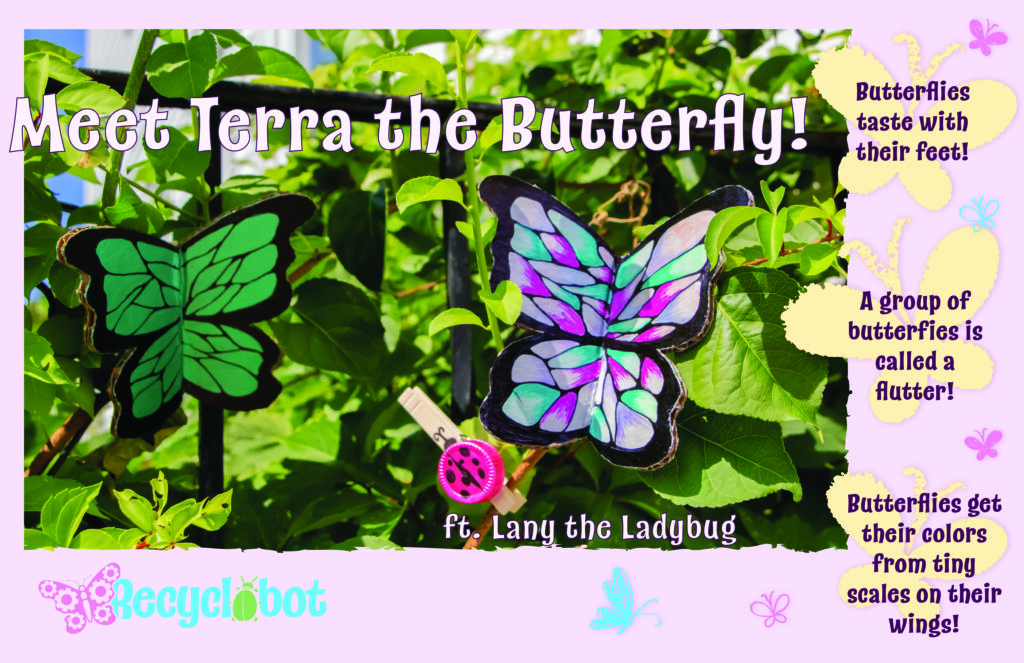
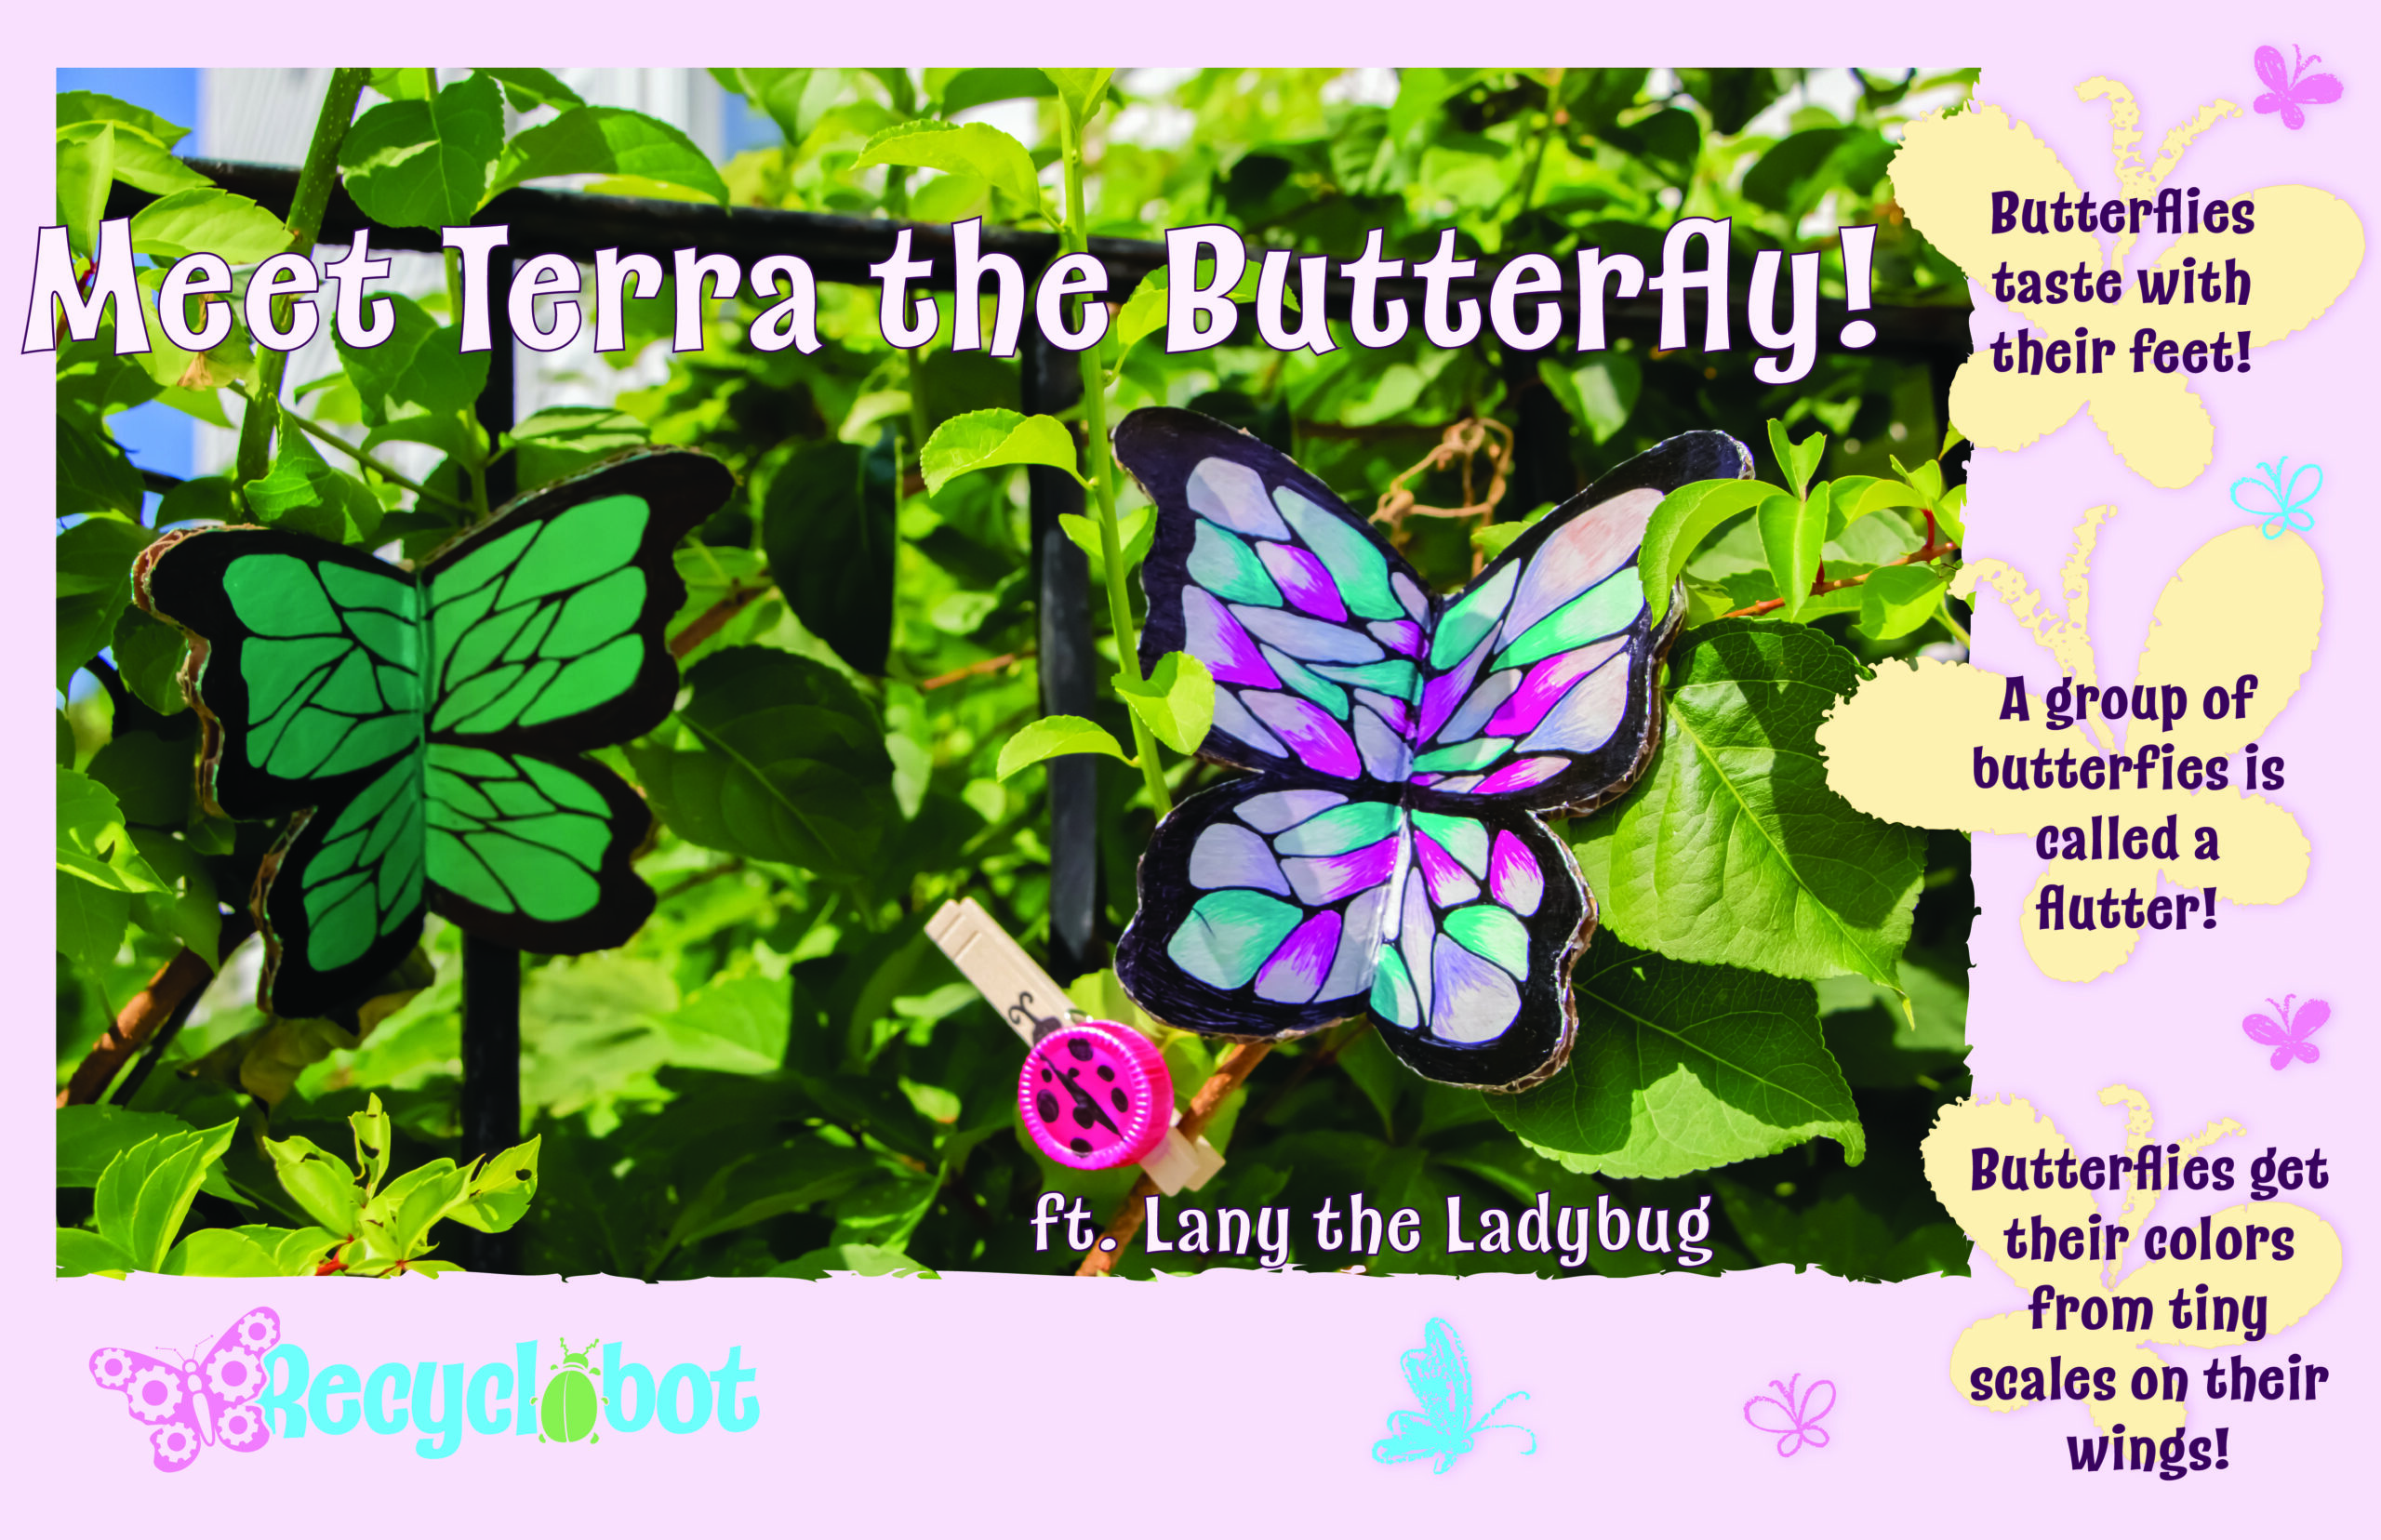
I needed to look into what kids are really more drawn to to make it child appropriate and alluring to the young eye. I start with researching and finding what would make a kid really say “Ohhhhh!”. I thought bugs and butterflies might catch the attention of all kids, gave it a little creative edge, and let the kids create what they want on their butterfly’s wings and designed with bright and eye-pleasing colors.
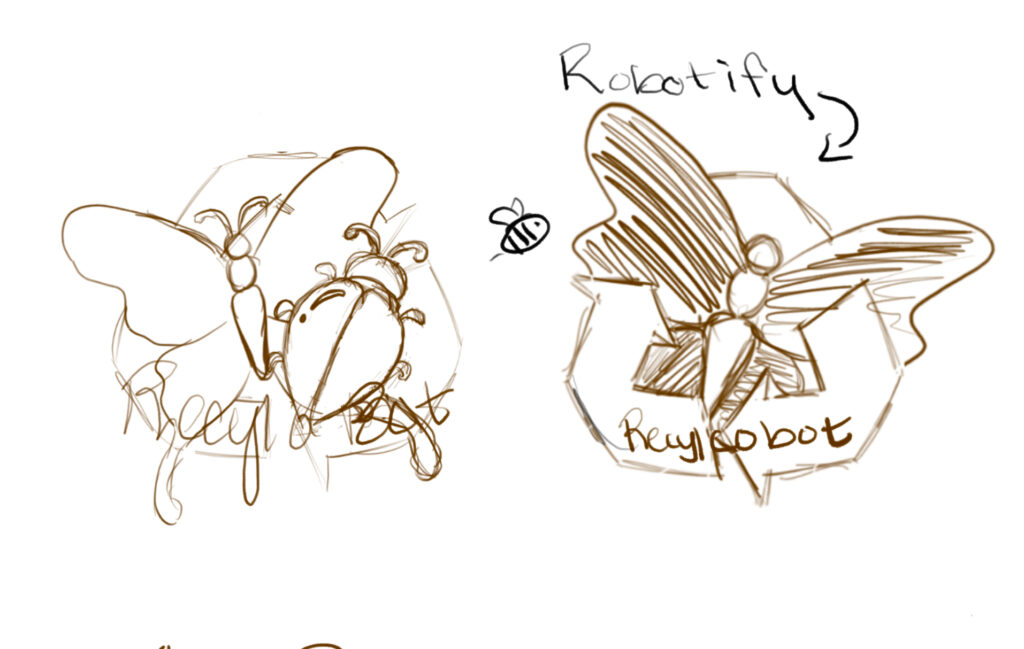
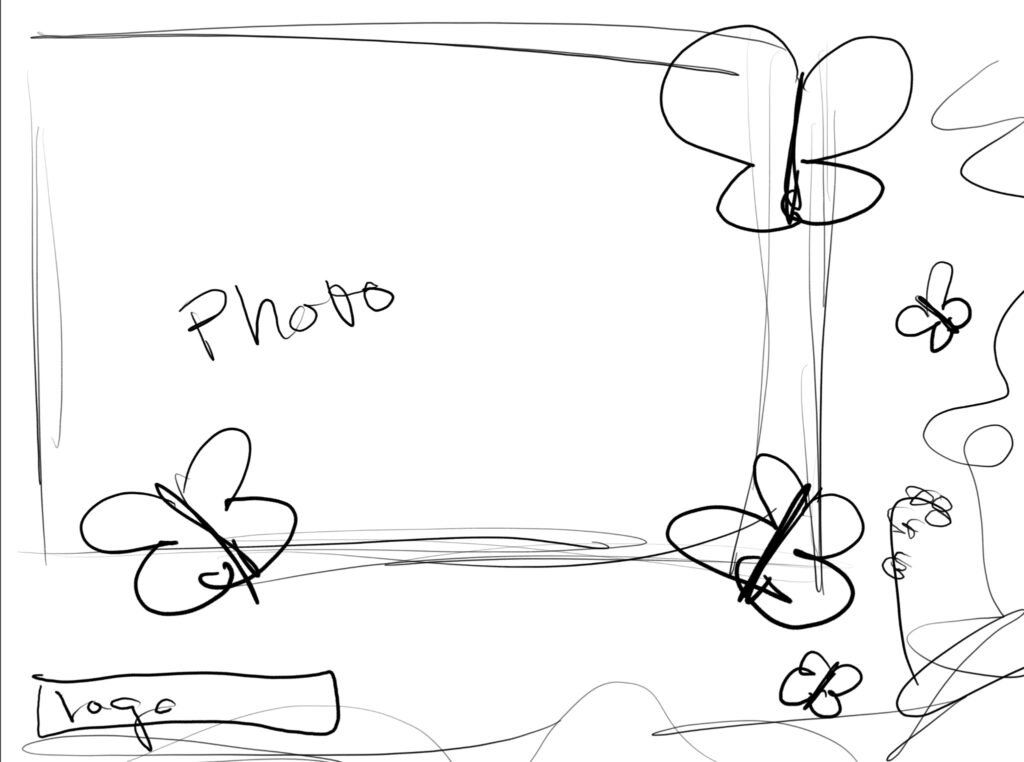
Sketching
I need to bring my visions to life. I start with drawing out what I would think a bug-themed recycled robot brand would have for a brand. So naturally we need to start with sketching out a logo that can fit in the instructions and the title page. Is it kid friendly? Does it fit in this project? What could make it better? Once I have it sketched, I need to consider where it would fit on an instruction sheet and title page, so I need to sketch those out too. Once I have everything visualized and outlined, I can move onto the development of the logo and project design.

Development
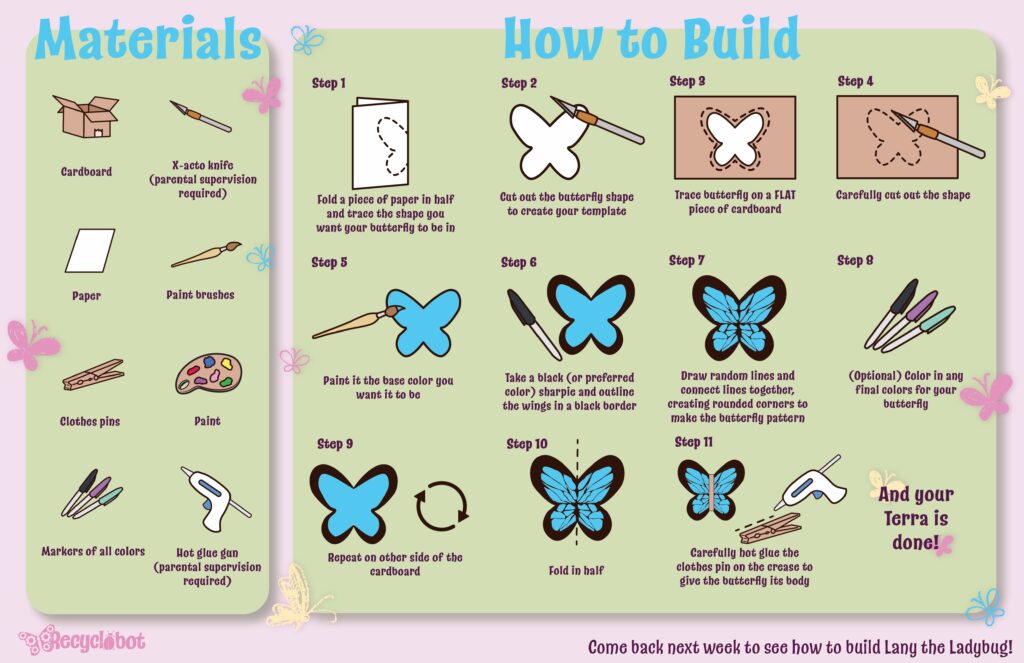
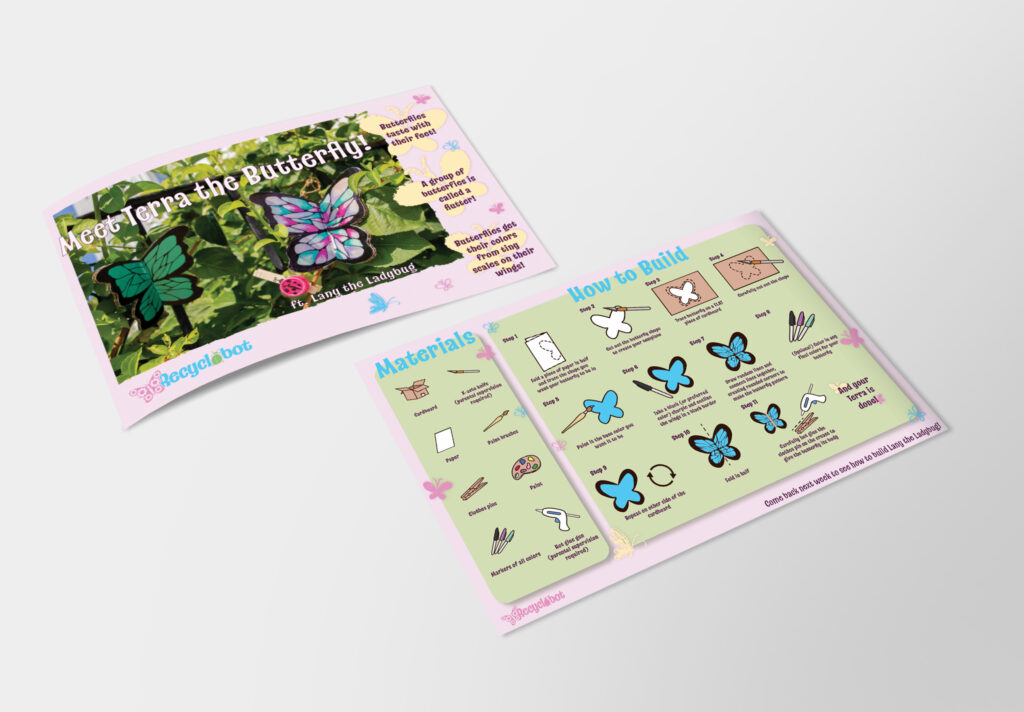
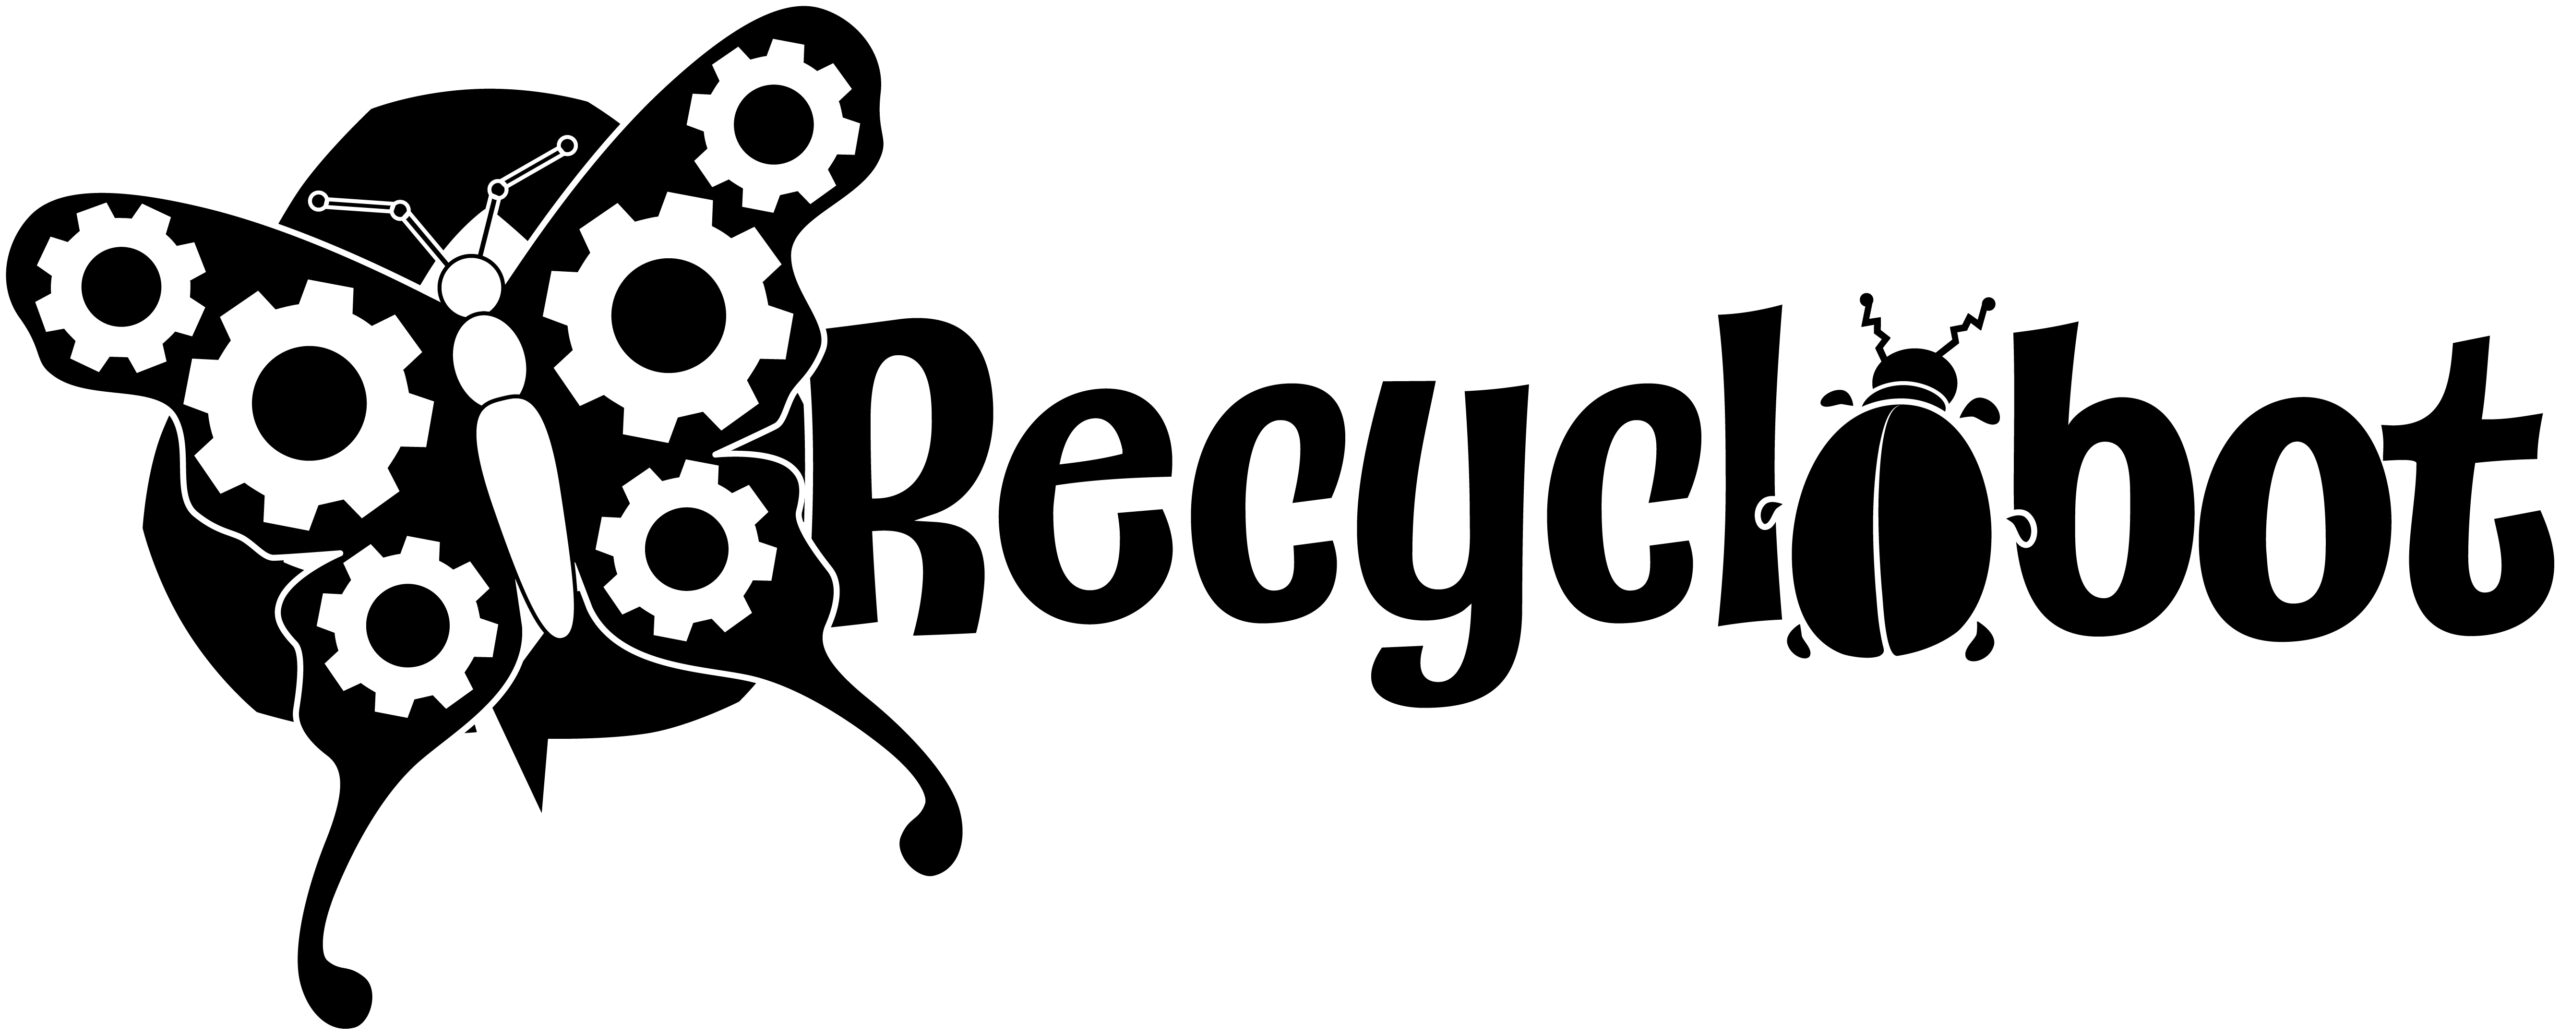
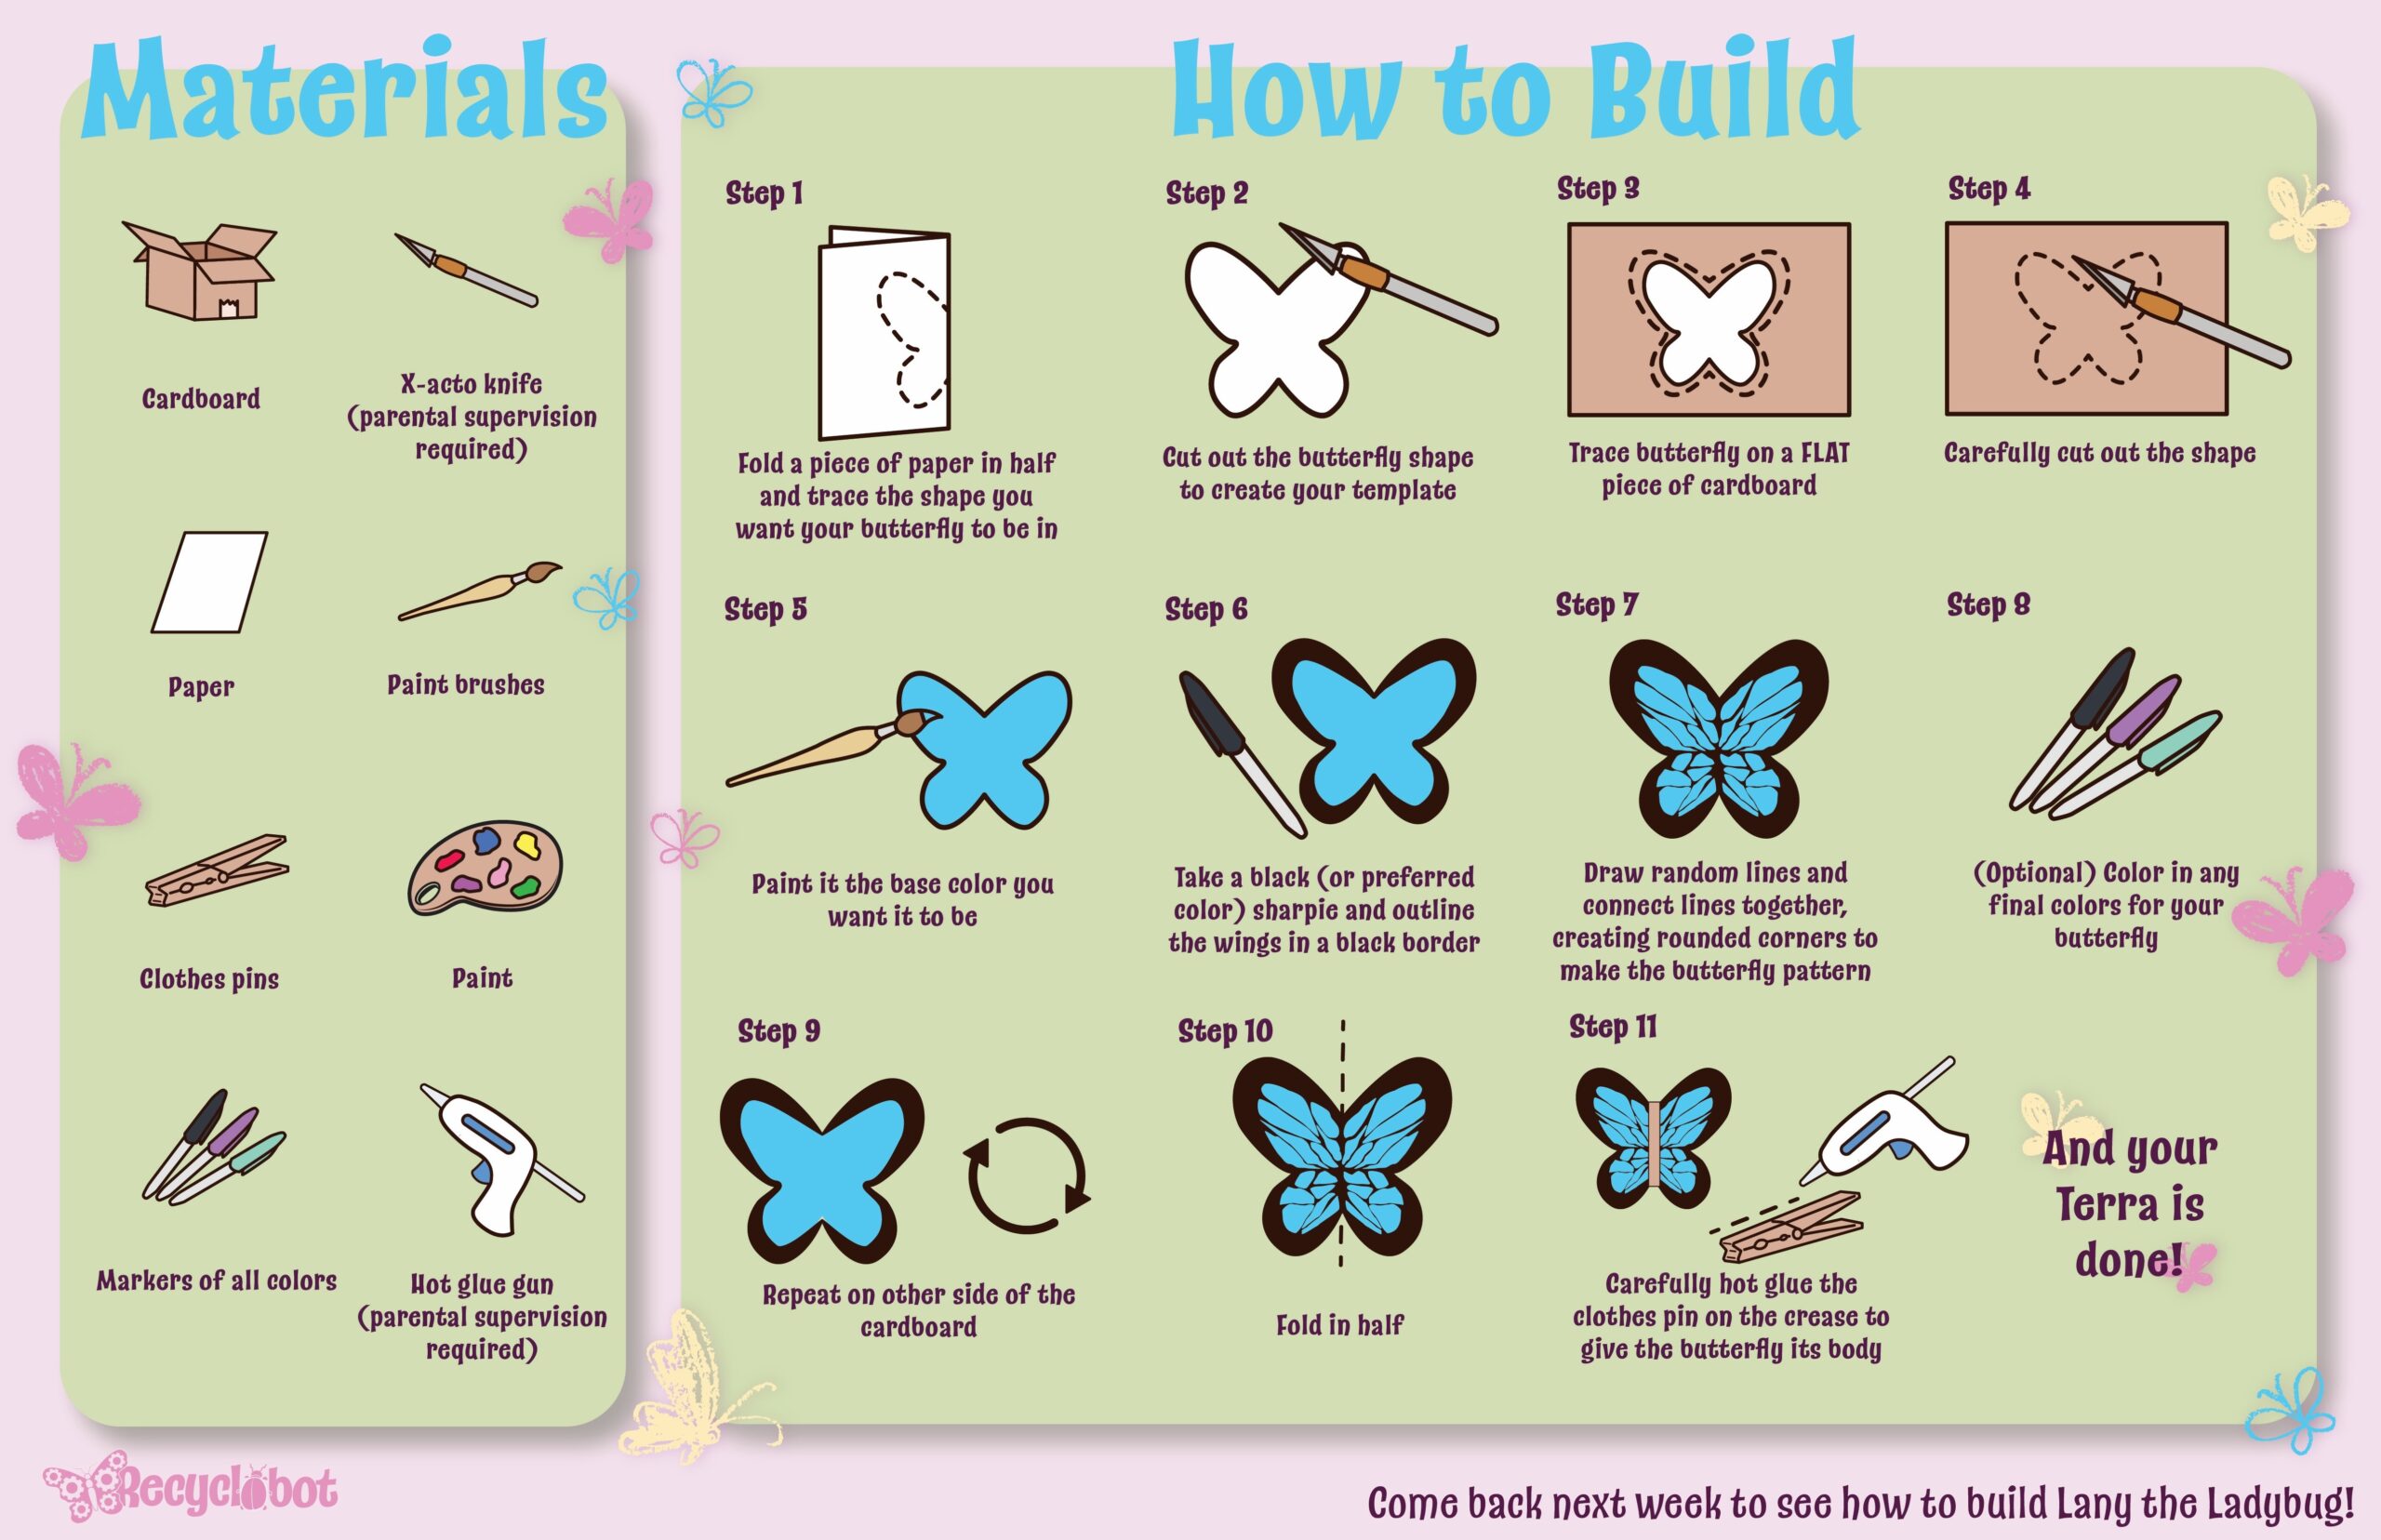
Now we move onto the logo development and page development of the project. Pulling up Adobe Illustrator, I get to work and finalize the logo. Once I have a solid logo, I can pick out a color palette and get working on the front page and instruction sheet. After we have some digital content, it’s time for the physical content. I need to build the robot and document the instructions and materials used to include in the instruction sheet to give an accurate project. Then, we photograph the project for our front page to give the authenticity of our DIY home project. Once I feel confident, I need opinions and feedback.


Feedback
I, of course, need a second opinion and feedback on what can be done to make it more appealing. I take these into consideration and tie it all up with minor tweaks and fixes. Feedback is used almost after every sketching process before finalizing something.
Final Project!
This is where we tie it all together and throw all of the pieces into a folder! We have our final project!